
Dolby Atmos Ceiling Speakers The Ultimate Setup Guide
Let’s get one thing straight: if you’re serious about getting a true Dolby Atmos experience, dedicated Dolby Atmos ceiling speakers are non-negotiable. Sure, up-firing speakers and virtual solutions can give you a hint of height, but they’re just appetizers. Only discrete, overhead speakers can plunge you into that genuine, three-dimensional sound bubble that puts you right inside the action.
Why In-Ceiling Speakers Are the Only Way to Fly for True Dolby Atmos
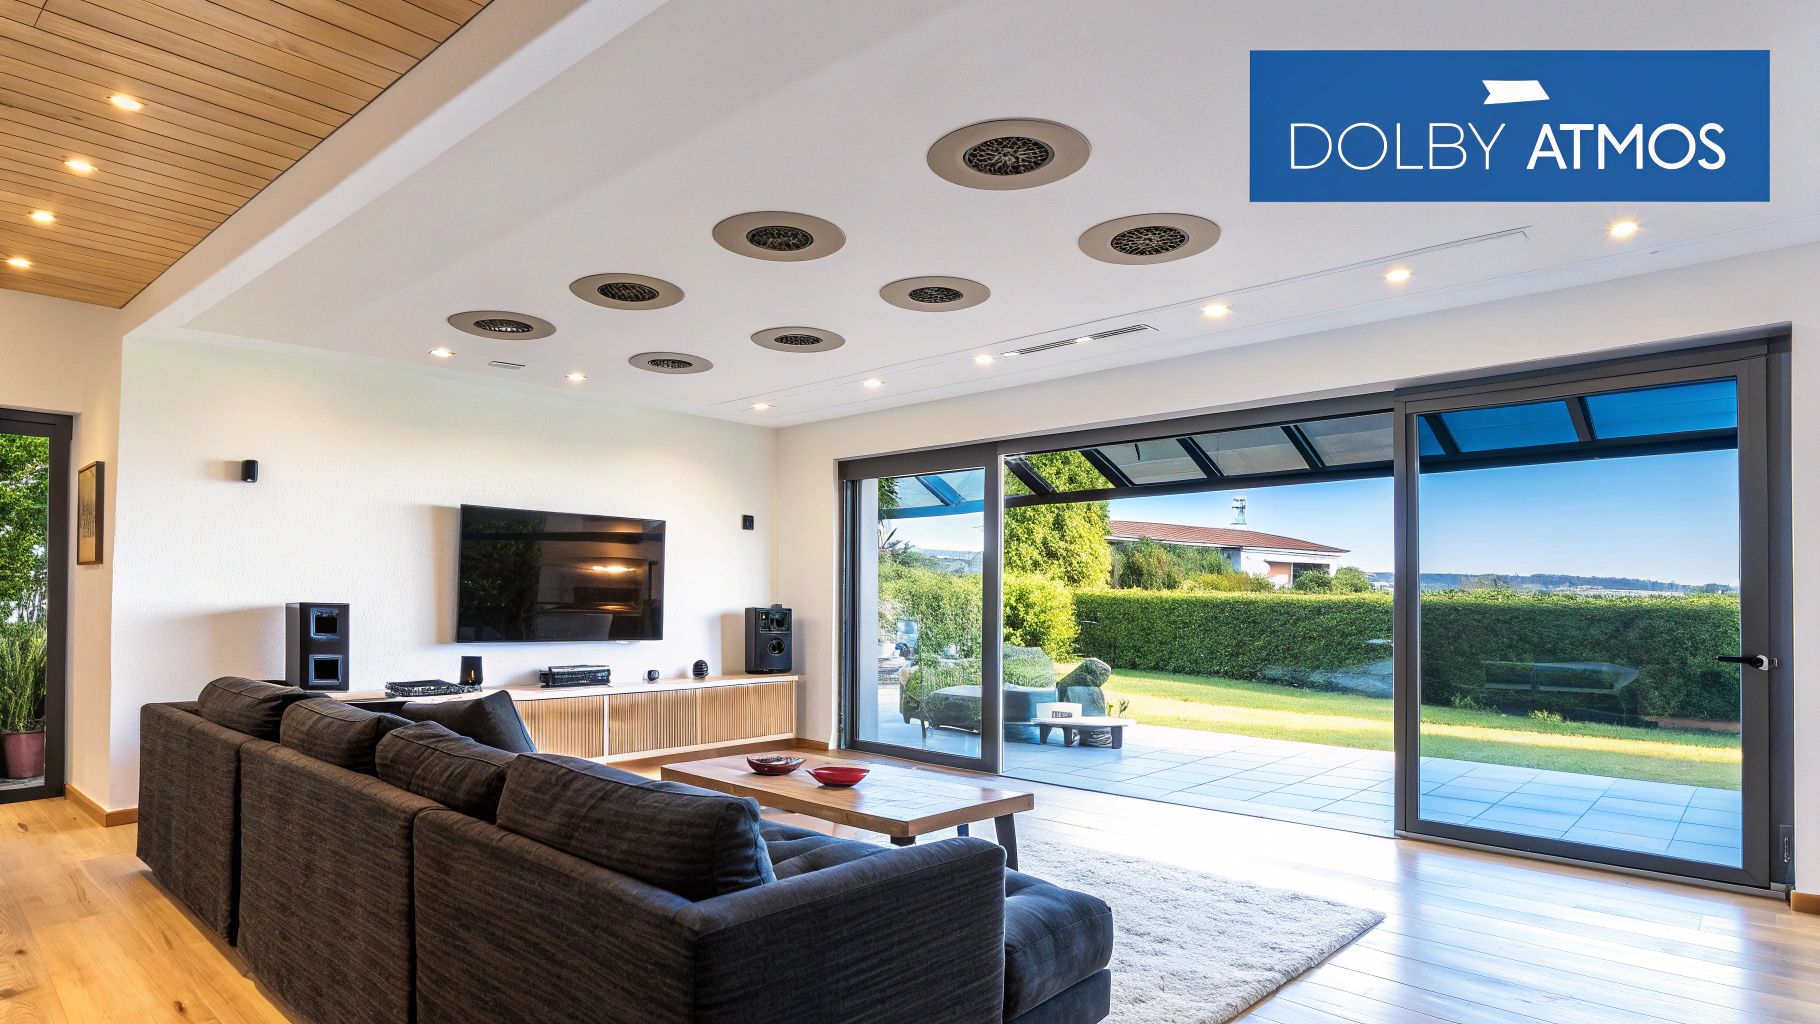
Dolby Atmos isn’t just about cramming more speakers into your room; it’s a fundamental shift in how audio is designed and delivered. Traditional surround sound works on a flat, horizontal plane, sliding audio around you. Atmos blows that wide open by adding a vertical dimension. It treats individual sounds as “objects” that can be placed and moved anywhere in a 3D space—especially right over your head.
This is exactly why dedicated ceiling speakers aren’t just an add-on; they are the single most important upgrade you can make for an authentic Atmos setup.
The Magic of Psychoacoustics
Our brains are naturally wired to pinpoint where a sound is coming from. Tiny delays and tonal shifts as sound hits each ear let us know if something is to our left, right, front, or back. When you install speakers directly above you, you’re finally completing that auditory map.
This creates a powerful psychoacoustic effect, essentially tricking your brain into perceiving a seamless sphere of sound. The result is a level of immersion that bouncing sound off a flat ceiling simply can’t touch.
Let’s think about the sound of rain in a movie.
- Without ceiling speakers, the rain is just part of the general background noise, happening on the same level as everything else.
- With up-firing speakers, you get a vague sense of height. It’s an improvement, but the effect is often diffuse and lacks any real precision.
- With true in-ceiling speakers, you hear the distinct patter of raindrops hitting the roof directly above your head, completely separate from the dialogue and score. It’s a night-and-day difference.
This distinction is critical. Discrete overhead audio isn’t just a minor enhancement; it’s a completely different and more realistic way of experiencing sound, mirroring how we actually hear in the real world.
Real-World Immersion in Action
Think about the opening scene of Blade Runner 2049. The thunderous roar of the Spinner flying overhead is designed to feel massive and oppressive. With in-ceiling speakers, that sound object is precisely placed above you, tracking from front to back with gut-punching authority. An up-firing speaker can only suggest that movement; a true overhead speaker delivers it with visceral impact.
Or take a film like Gravity. The sense of chaos and disorientation is cranked up to eleven when you can hear debris whipping past not just around you, but also directly over your head. It creates a tangible feeling of being in the scene, not just watching it on a screen.
Bottom line: investing in proper Dolby Atmos ceiling speakers is the definitive step that takes you from having a “good” sound system to a truly cinematic, all-encompassing home theater.
How to Choose the Right Dolby Atmos Ceiling Speakers
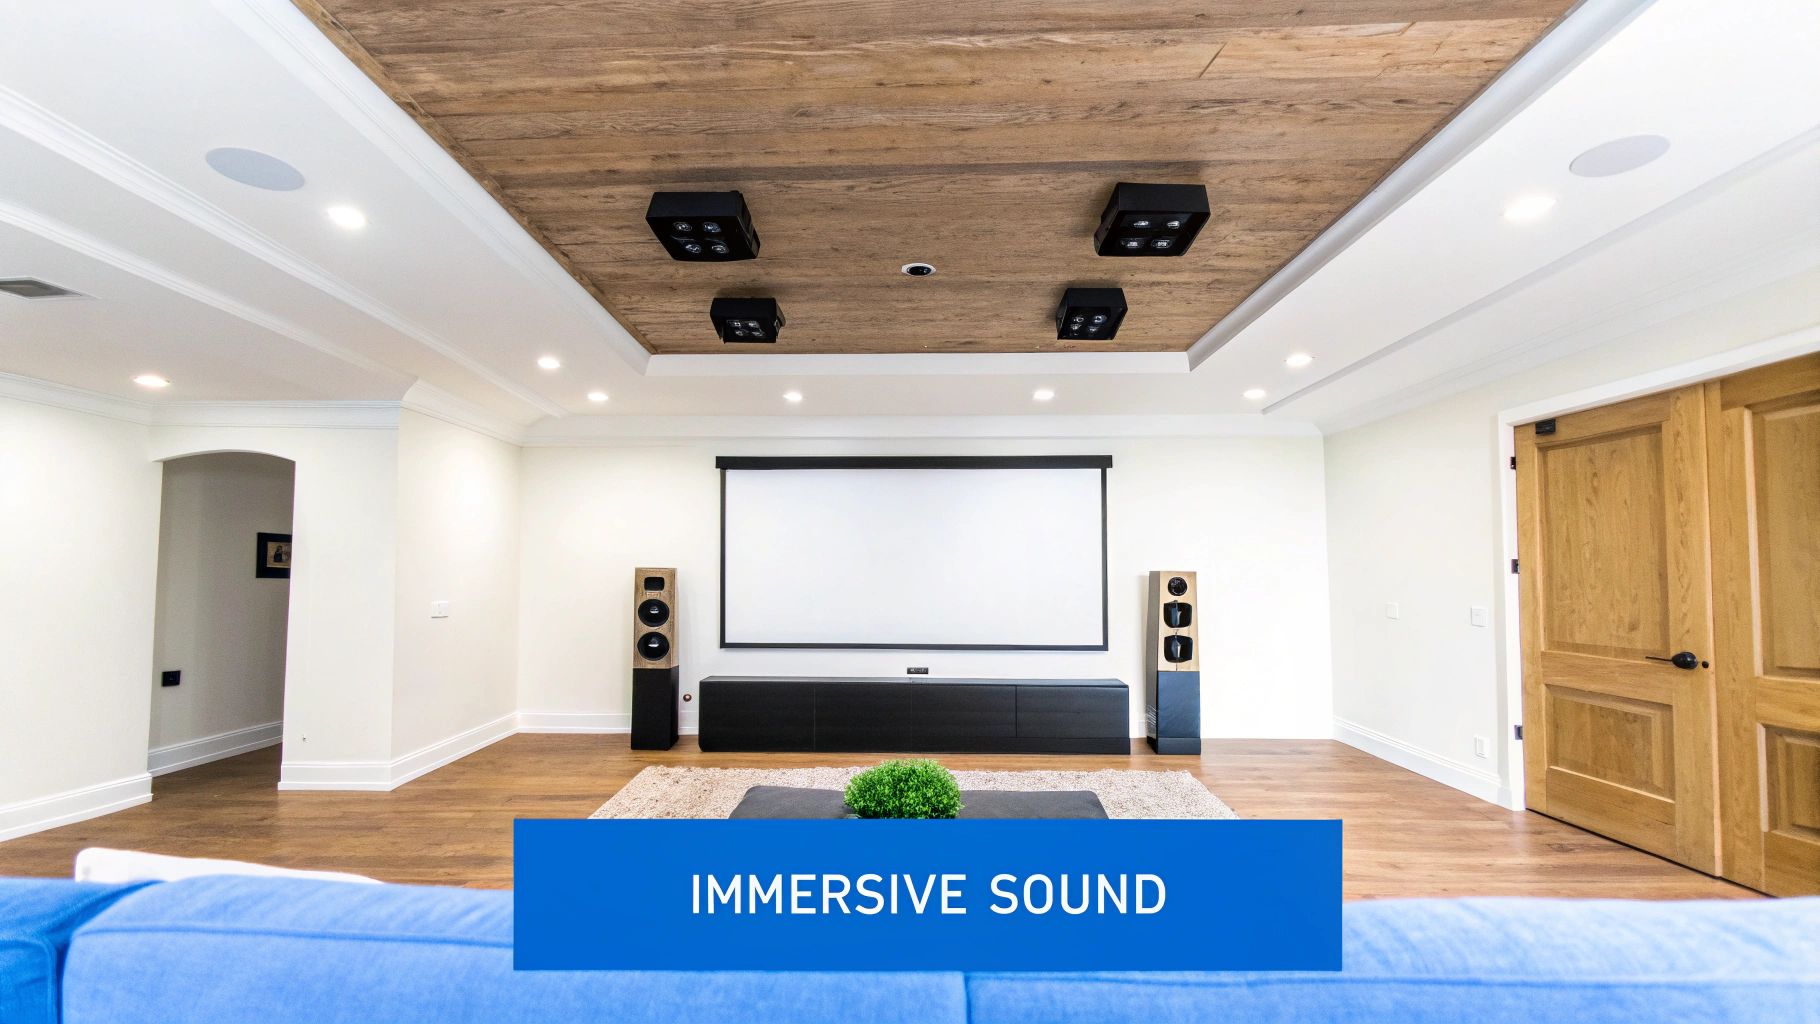
Picking out the perfect Dolby Atmos ceiling speakers can feel like a huge decision, but it really comes down to a few key principles. Your goal isn’t just to find a “good” speaker; it’s to find the right speaker for your specific room and the audio gear you already own. Nail this part, and you’re well on your way to a truly seamless, immersive soundscape.
One of the most important concepts to get right is timbre matching. Simply put, this means your new ceiling speakers should have a similar tonal quality to your existing front and surround speakers. If they’re mismatched, a sound effect—like a helicopter flying overhead—might noticeably change its character as it moves across the room, instantly breaking the illusion.
For instance, if your main tower speakers have aluminum tweeters known for crisp, sharp highs, pairing them with ceiling speakers that use soft-dome silk tweeters could create a jarring shift. The best way to avoid this is to stick with the same brand and, if you can, the same product series as your current speakers.
Understanding Speaker Design and Materials
Beyond just matching brands, the physical construction of the speaker plays a massive role in how it performs. The materials used for the drivers (the parts that actually create the sound) directly shape the audio profile.
- Driver Materials: Woofers and tweeters are often made from materials like aluminum, titanium, silk, or kevlar. Metal drivers usually produce a brighter, more detailed sound, while silk or fabric drivers tend to offer a warmer, smoother profile. There isn’t a single “best” material—it’s all about what complements your system and what sounds good to you.
- Speaker Construction: Look for speakers that feel solid and well-built. A quality speaker will have a rigid frame and good components that won’t create unwanted vibrations or rattling noises once they’re installed in your ceiling.
The demand for high-quality architectural audio has exploded, and it’s no surprise. The global market for in-ceiling speakers is on track to hit an estimated $9.02 billion by 2029. This boom is driven by the push from film studios for more immersive formats like Dolby Atmos.
Angled vs. Fixed Drivers: Which Is for You?
One of the big choices you’ll make is whether to get speakers with fixed drivers or ones with angled (or pivoting) drivers. This decision isn’t just about sound quality—it’s about making the sound work for your room’s specific layout.
Fixed (Coaxial) Speakers fire sound straight down. These are a great option when your seating area is directly underneath the ideal speaker placement locations. They typically provide wide, even sound coverage.
Angled or Pivoting Speakers, on the other hand, let you aim the woofer, tweeter, or both directly at your main listening spot. This feature is an absolute problem-solver for many common installation headaches.
Pro Tip: Angled drivers are a lifesaver in less-than-perfect setups. If a ceiling joist, light fixture, or HVAC vent gets in the way of the perfect spot, an angled driver lets you install the speaker where it fits and still aim the sound precisely where it needs to go.
Think about a room with a lower ceiling, maybe around eight feet. A fixed speaker might create an annoying “hot spot” where the sound feels too intense and localized right below it. An angled driver lets you aim that sound across the room, creating a more diffuse and natural overhead effect. This level of control often separates a good setup from a truly great one. If you want to get these details just right, looking into a professional home theater installation service can make all the difference.
To help you decide, here’s a quick comparison of key speaker features and where they shine.
Ceiling Speaker Feature Comparison
| Feature | Best For | Considerations |
|---|---|---|
| Fixed Drivers | Rooms where seating is directly under the ideal speaker location. High ceilings where sound dispersion is key. | Can create “hot spots” in rooms with low ceilings. Less flexible if placement is compromised. |
| Angled Drivers | Rooms with off-center seating or obstructions (joists, lights). Low ceilings where directing sound is crucial. | Requires more precise aiming during installation. May have a slightly narrower “sweet spot.” |
| Metal Tweeters (Aluminum, Titanium) | Pairing with existing speakers that have a bright, detailed sound profile. Action movies and gaming. | Can sound harsh if not matched well with the rest of your system or if your room is very reflective. |
| Fabric Tweeters (Silk, Cloth) | Systems that need a warmer, smoother sound. Ideal for both music and movies. | Might lack the pinpoint sharpness of metal tweeters, which some listeners prefer for sound effects. |
| Wide Dispersion | Large, open-concept living areas or rooms with multiple seating positions. | The sound is less focused, which may not be ideal for a dedicated single-seat theater room. |
| High Sensitivity | Rooms that require high volume levels or are paired with lower-powered AV receivers. | A very sensitive speaker can reveal flaws in low-quality audio sources more easily. |
Choosing the right features comes down to balancing your room’s limitations with your listening goals.
Matching Speakers to Your Room and Goals
Finally, your room’s unique acoustics and what you want to achieve should guide your choice. A huge, open-plan living room with vaulted ceilings needs a different approach than a small, dedicated theater room.
Think about these scenarios:
- For Large, Open Rooms: You’ll want speakers with wide dispersion and higher power handling. This ensures the sound can fill the whole area without sounding weak or strained.
- For Smaller, Dedicated Theaters: Pinpoint accuracy is key here. Angled drivers are especially useful for creating that perfect “sweet spot” right where you sit.
- For Multi-Purpose Rooms: If your room pulls double duty for both movies and music, look for speakers known for their musicality and a balanced, natural sound.
By carefully thinking through timbre, driver design, and your room’s quirks, you can confidently pick the Dolby Atmos ceiling speakers that will take your home theater from simply loud to truly breathtaking.
Perfecting Speaker Placement for Immersive Audio
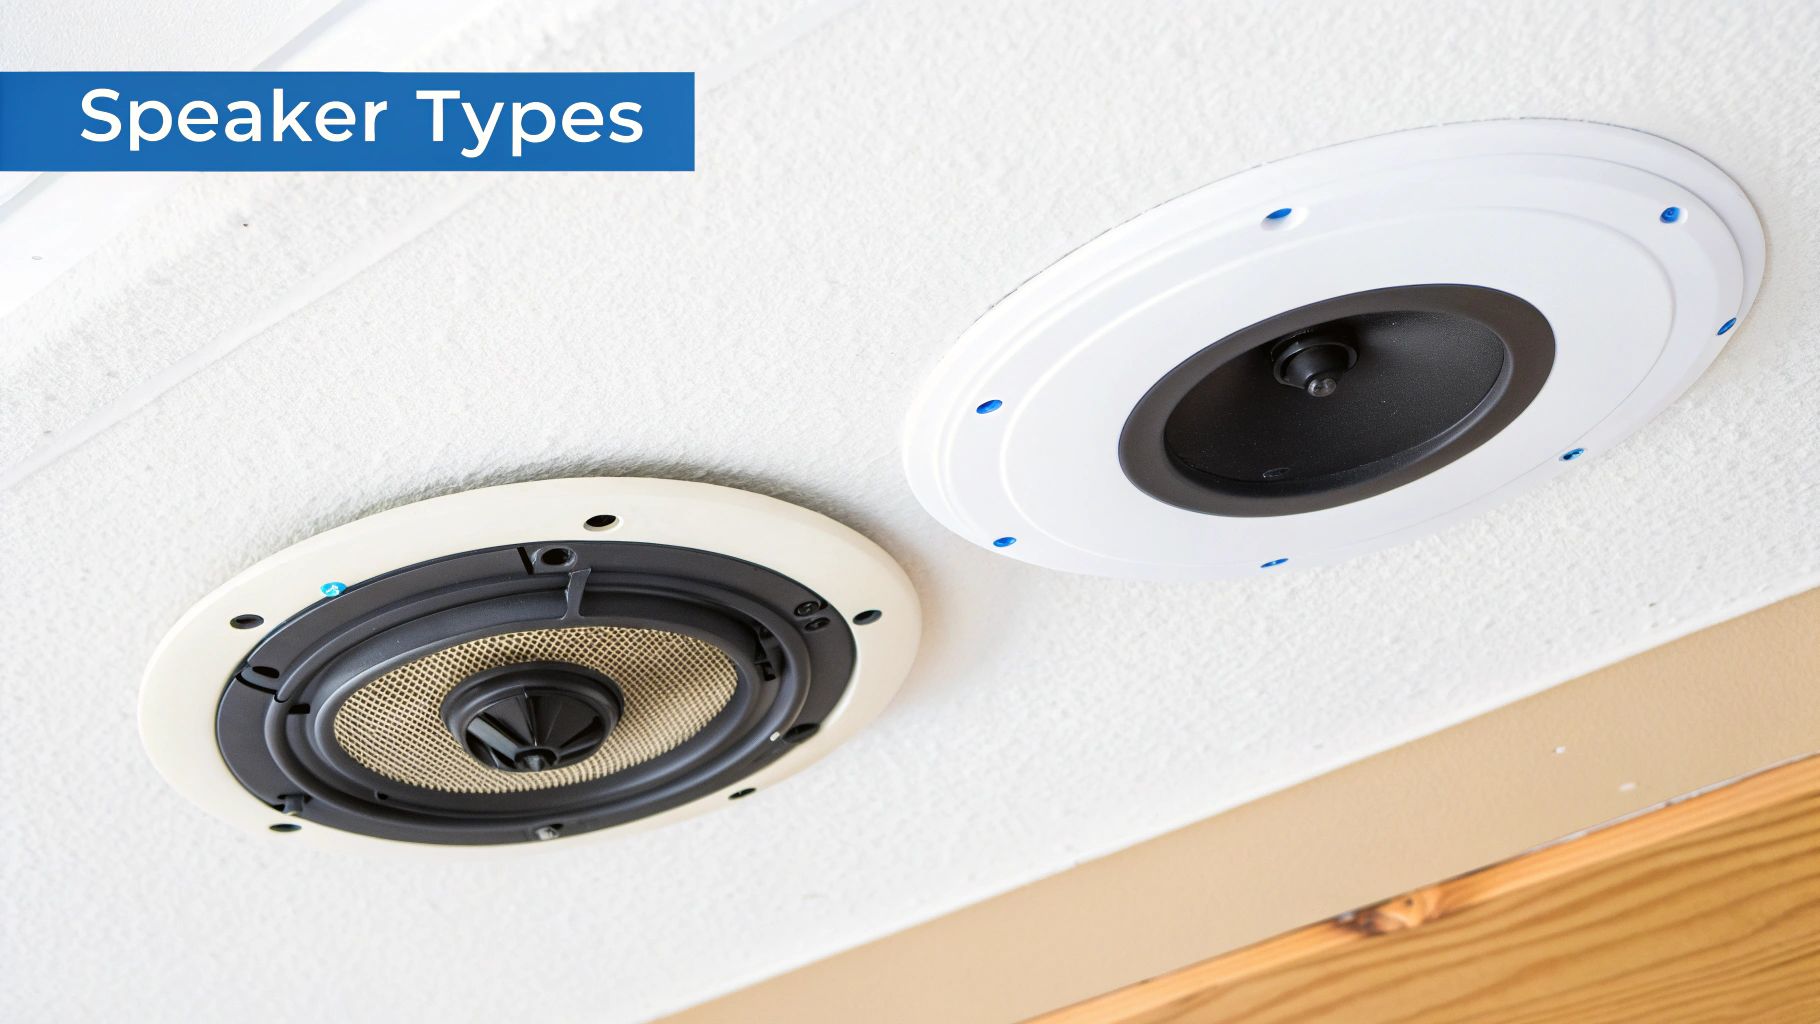
You can have the most expensive, highest-rated Dolby Atmos ceiling speakers on the market, but if they’re in the wrong spots, you’ll never unlock their true potential. Precise placement isn’t just a recommendation; it’s the absolute foundation of a convincing three-dimensional soundscape. Get it right, and the results are simply breathtaking.
Think of placement as the audio choreography for your room. The goal is to create a seamless bubble of sound where effects—like a helicopter flying overhead or rain falling all around you—are so accurately positioned that your brain just accepts them as real. This is all achieved by sticking to specific angles relative to your main listening position (MLP), which for most of us is the center seat on the couch.
It’s no surprise that the market for high-quality architectural audio is booming. Valued at around $1.5 billion globally, the ceiling and in-wall speakers market is projected to expand significantly. This growth is driven by people like you demanding the kind of immersive experiences that only precisely placed speakers can deliver. You can dig into more insights on the growth of the home audio market on datahorizzonresearch.com.
Decoding Dolby’s Placement Guidelines
Dolby provides detailed diagrams that can look a bit intimidating at first glance. But they really boil down to a simple principle: position your speakers based on angles, not just measurements. Your room’s unique dimensions mean that a simple instruction like “measure three feet from the wall” won’t work for everyone. Angles, however, are universal.
Let’s break down the most common setups you’ll run into:
- The 5.1.2 Setup (Two Ceiling Speakers): This is the perfect entry point into genuine Atmos. The two overhead speakers should be positioned slightly in front of and in line with your main left and right front speakers. The magic number here is a 45-degree angle of elevation from your ears at the MLP.
- The 5.1.4 or 7.1.4 Setup (Four Ceiling Speakers): Now we’re talking. This is the enthusiast’s gold standard. You’ll install a pair of speakers in front of your MLP and another pair behind it.
- Front Height Speakers (“Top Front”): These should sit at that same 45-degree angle of elevation in front of you.
- Rear Height Speakers (“Top Rear”): You guessed it—these go at a 45-degree angle of elevation behind you.
This four-speaker layout allows for truly stunning audio panning, where a sound object can move smoothly from front-to-back directly overhead. It’s a game-changer.
Don’t get bogged down by inches and centimeters. Focus on getting the angles right relative to where you sit. This single focus will do more for your sound quality than almost any other adjustment you can make.
A Practical Blueprint for Finding Your Angles
Theory is one thing; finding that perfect 45-degree spot on your actual ceiling is another. Forget complex math and guesswork. Here’s a tried-and-true method I use that relies on simple tools.
- Sit in Your Main Listening Position. This is your ground zero, the reference point for everything else. Have a friend help you out, or just set up a small tripod on the seat.
- Grab a Laser Pointer and a Protractor App. Get a free protractor app on your smartphone. Hold your phone vertically at ear level, pointing up toward the ceiling.
- Aim and Mark. Hold a laser pointer flat against your phone and slowly tilt it upwards until the protractor app reads 45 degrees. The little red dot on your ceiling? That’s your ideal front-to-back position for the speaker. Repeat this for all your overhead locations.
This simple technique transforms an abstract diagram into tangible points on your ceiling, giving you an exact target before you ever think about cutting a hole.
Navigating Real-World Room Challenges
Let’s be honest, perfectly symmetrical, empty rooms are rare. Most of us have to deal with ceiling fans, recessed lighting, or weird layouts. Don’t worry—these obstacles don’t have to kill your Atmos dreams.
Dealing with Obstructions
What happens when your perfect 45-degree spot lands right on a light fixture or a ceiling joist? You have a couple of great options:
- Slight Adjustments: You can shift the speaker location a bit. Dolby’s guidelines allow for a tolerance of about 10-15 degrees in either direction before the effect is seriously compromised. If you have to choose, always prioritize keeping the left-right width correct over the front-back position.
- Angled In-Ceiling Speakers: This is often the best solution. If you absolutely have to install a speaker a foot or two from the ideal spot, get a model with a pivoting tweeter and woofer. This allows you to physically aim the sound back towards the MLP, compensating for the off-axis placement and refocusing the audio right where it needs to be.
Asymmetrical Rooms
If your couch is pushed up against a side wall, getting perfect symmetry is tough. In this scenario, the goal is to create a balanced sound field for the main seating area, even if the room itself is lopsided.
For instance, if your seating is closer to the right wall, you might install your right-side ceiling speakers a little narrower than the left ones to maintain the proper angular relationship to the listeners. Your AV receiver’s room correction software can then work its magic to balance the channel levels and delay times, creating a cohesive sound field. The key is to always optimize for the main listening position, not for the room’s geometry.
A DIY Guide to Installation and Wiring
Alright, with your speaker placement perfectly mapped out, it’s time to roll up your sleeves. We’re moving from theory to practice, and this is where the real fun begins for any hands-on home theater builder. Installing your Dolby Atmos ceiling speakers is an incredibly rewarding project that’s well within reach for most DIY folks, as long as you’ve got the right prep and a steady hand.
Before you even think about picking up a saw, let’s talk safety and materials. Your absolute first priority is using the correct speaker wire. This isn’t just a suggestion—it’s a requirement. Since this wire will live behind your drywall and run through the ceiling, it has to be properly rated for in-wall use to meet fire safety codes.
- CL2-rated wire is your standard for general in-wall residential projects. It’s perfectly fine for this job.
- CL3-rated wire is built for higher-voltage applications, making it more than safe for your speakers.
Whatever you do, don’t even think about using standard, non-rated speaker wire inside your walls. It’s a serious fire hazard and just not a risk worth taking.
This graphic breaks down the major phases of the installation, from the first measurements to the final connections.
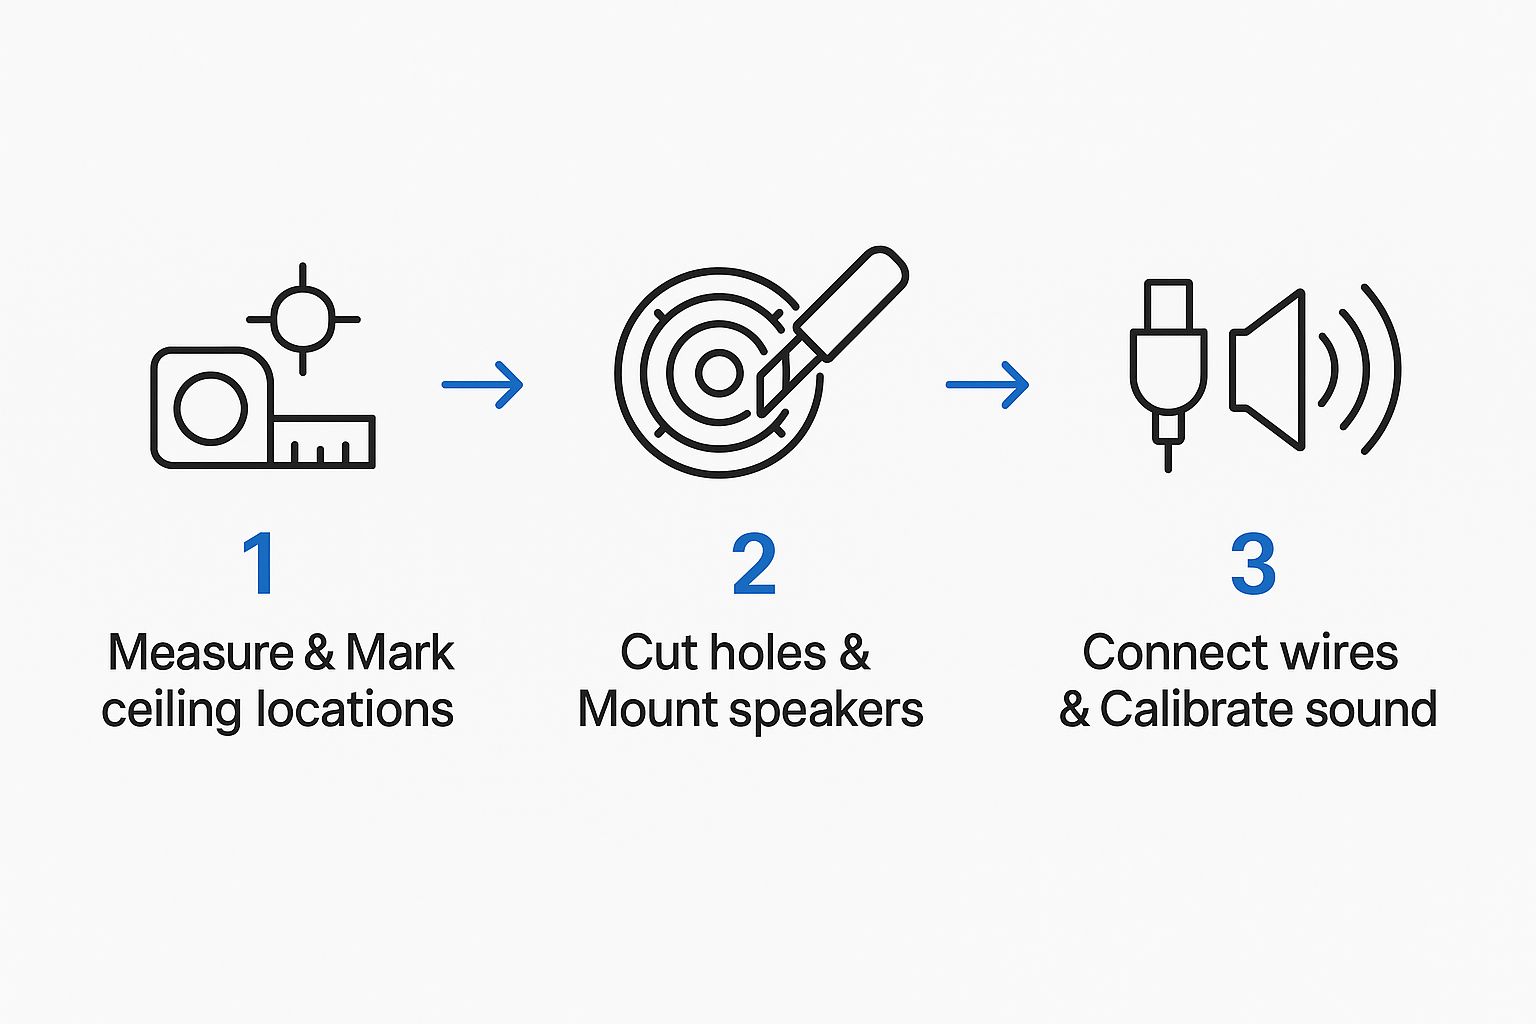
Seeing the workflow laid out like this really helps simplify what can feel like a daunting task. It’s just a logical progression of clear, manageable steps.
Assembling Your Installation Toolkit
I can’t stress this enough: get your tools together before you start. It makes the entire process so much smoother and more professional. A messy installation usually starts with a disorganized toolkit.
Here’s a checklist of exactly what you’ll need:
- Stud Finder: Absolutely essential for locating ceiling joists. You don’t want to start cutting a hole only to hit a solid block of wood. A decent magnetic or electronic one is your best friend here.
- Drywall Saw or Jab Saw: This is the right tool for making clean, precise cuts for your speaker openings.
- Pencil and Measuring Tape: For marking the exact cutting locations based on the plan you’ve already made.
- Fish Tape or Fiberglass Rods: These are the secret to “snaking” the speaker wire through the ceiling and down inside the walls to your AV receiver.
- Wire Strippers: You need these for cleanly removing the insulation from the wire ends to get a solid, reliable connection.
- Drill with a Spade Bit: This is for drilling small holes in the top plates of your walls, allowing you to feed the wire down from the ceiling cavity.
- Safety Goggles: Protect your eyes from drywall dust and debris. Seriously, don’t skip these.
The Art of Clean Cutting and Mounting
With your tools ready and speaker locations marked, it’s go-time. Most in-ceiling speakers come with a handy cardboard template. Just hold it against the ceiling on your mark and trace around it with a pencil.
Pro Tip from the Field: Before you cut the full circle, use a small nail to make a tiny pilot hole in the center. Bend a piece of a coat hanger into an “L” shape, stick it in the hole, and spin it 360 degrees. This is my favorite old-school trick to make sure there are no hidden pipes, wires, or joists right where I plan to cut.
Once you’ve confirmed the coast is clear, carefully cut along the traced line with your drywall saw. Go slow to keep the cut clean. After the hole is made, you can start running your speaker wire from the opening all the way back to where your AV receiver will live. Honestly, this is often the most challenging part of the whole job.
Snaking the wire takes patience. You’ll use your fish tape or rods to guide the wire across the ceiling and down into the wall cavity. It can feel a bit like a puzzle, but the satisfaction of successfully pulling that wire through is immense. A similar level of care is vital when mounting other gear; for a detailed guide on securing heavier components, you can find great info on how to mount a TV on a wall securely.
Securing the Speakers and Final Connections
Wires run? Great. Now it’s time to connect and mount the speakers themselves. Start by stripping about half an inch of insulation off the ends of the speaker wire. Pay close attention to polarity—connect the positive (red) wire to the red terminal on the speaker and the negative (black) wire to the black terminal.
Here’s a crucial habit to get into: leave a bit of extra wire in the ceiling at the speaker location. We call this a “service loop.” Having an extra foot of slack makes it infinitely easier to disconnect and service the speaker down the road without having to pull a whole new wire.
Once connected, most in-ceiling speakers use a simple “dog-leg” mounting system. As you tighten the screws on the front of the speaker, little clamps will rotate out and grab the back of the drywall, locking the speaker firmly in place. Tighten them until they’re snug, but don’t go crazy and risk cracking your drywall.
Finally, at the receiver end, connect the wires to the appropriate “Height” or “Atmos” speaker terminals, again making sure your polarity is correct. Take a moment to label each wire as you run it—it will save you a massive headache during this final step.
Configuring Your Receiver for Peak Atmos Performance
With your Dolby Atmos ceiling speakers mounted and wired, the heavy lifting is over. But the most important part of the job isn’t done in the ceiling—it happens inside your AV receiver. Proper calibration is what turns a collection of individual speakers into a truly cohesive, immersive soundscape.
Think of it this way: skipping calibration is like buying a high-performance sports car and never taking it out of first gear. You’re leaving the best part of the experience completely untapped. This final step is essential for unlocking what your new setup can really do.
Navigating Your Receiver’s Setup Menu
Your AV receiver’s on-screen menu is your new command center. The first order of business is to let it know you’ve installed overhead speakers. You’ll need to find the speaker setup or amplifier assignment section in the menu.
From there, you’ll change your speaker layout from a standard 5.1 or 7.1 to something like 5.1.2 or 7.1.4. This tells the receiver to stop powering unused channels (like rear surrounds you might not have) and send that power to your new height channels instead. This is non-negotiable—if you don’t do this, your ceiling speakers will stay silent.
Next up are the speaker distance and level settings. Here, you’ll input how far each speaker is from your primary listening spot. Getting these measurements right is crucial. It allows the receiver’s processor to perfectly time the audio signals, ensuring sound from every single speaker hits your ears at the exact same moment.
The Power of Automated Room Correction
Most modern AV receivers come packed with some seriously powerful room correction software, like Audyssey, Dirac Live, or YPAO. This is your system’s secret weapon for dialing in perfect sound. Using a small microphone that comes with the receiver, the software sends out a series of test tones to measure how sound behaves in your room.
It’s analyzing a few key things:
- Frequency Response: It hunts for peaks and valleys in the sound caused by your room’s unique shape and reflective surfaces.
- Speaker Delay: It automatically and precisely calculates the distance to each speaker.
- Channel Levels: It perfectly balances the volume of every speaker to create a smooth, even sound field.
Make sure you run the full calibration process. Place the microphone in at least six to eight different positions around your main seating area. This gives the software a complete acoustic map of your listening zone, which results in a much more accurate and immersive sound for everyone on the couch.
Don’t just run the test from one spot. Moving the microphone around the main seating area gives the room correction software a more complete picture of your listening environment, creating a larger and more forgiving “sweet spot” for everyone on the couch.
Once the process is complete, the software applies a custom equalization (EQ) curve to correct your room’s acoustic flaws. This is what truly makes your system sing, cleaning up muddy bass and taming harsh highs to deliver a beautifully clear and balanced soundstage.
Fine-Tuning Crossovers and Manual Tweaks
After the automated setup does its magic, it’s time for a little hands-on fine-tuning. The most important setting to double-check is the crossover frequency. This tells the receiver which frequencies to send to your main speakers and which ones to redirect to your subwoofer.
While the room correction software will suggest crossover points, you can often get better results with a manual adjustment. A solid rule of thumb is to set the crossover for your ceiling speakers to about 10-20 Hz above their rated low-frequency extension. For most in-ceiling models, a setting somewhere between 80 Hz and 120 Hz is a fantastic starting point.
The demand for this kind of immersive audio is exploding. With streaming giants like Netflix offering over 1,200 Dolby Atmos titles, it’s no surprise that shipments of Atmos-enabled devices have jumped by 43% as more people look to upgrade. You can dig into the market trends for Dolby Atmos on businessresearchinsights.com to see just how fast it’s growing.
For one last check, grab a free SPL meter app for your phone to confirm the channel levels are balanced. It won’t be perfectly accurate, but it’s a great tool for spotting any obvious imbalances the automated system might have missed. Taking a few extra minutes for these tweaks is what separates a good setup from a great one. And for those who want a flawless result from start to finish, professional home audio systems installation guarantees every last detail is dialed in perfectly.
Questions We Hear All the Time About Dolby Atmos Ceiling Speakers
As you start piecing together the ultimate home theater, you’re going to have questions. That’s a good thing—it means you’re thinking like a pro. Let’s run through some of the most common questions we get about Dolby Atmos ceiling speakers to clear the air and get you moving forward.
Can I Just Use Any In-Ceiling Speaker for Atmos?
Technically, sure, any in-ceiling speaker makes sound. But that’s not the point, is it? For that truly convincing overhead sound that makes Dolby Atmos so special, you need speakers built to handle the wild dynamic swings in modern movie soundtracks.
Even more crucial, you want speakers with pivoting or angled tweeters. This isn’t just a nice-to-have feature; it’s essential. It lets you physically aim the high-frequency sounds—the very sounds our brains use to pinpoint location—right at your main listening spot. If you use a basic, fixed speaker, you’ll get a vague, disconnected sound field that completely misses the immersive goal of this whole project.
How Many Ceiling Speakers Do I Really Need?
The right number of speakers really boils down to your room size, your AV receiver’s capabilities, and just how deep you want to dive into the immersive audio rabbit hole. For most people, there are two sweet spots that give you the best bang for your buck.
- Two Speakers (.2): A 5.1.2 or 7.1.2 configuration is a fantastic and wildly popular starting point. It does an incredible job of establishing a sense of height, creating that “bubble” of sound that defines the Atmos experience.
- Four Speakers (.4): This is the gold standard for home theater enthusiasts. Stepping up to a 5.1.4 or 7.1.4 setup gives you four distinct points of overhead audio. This allows sound objects to be tracked with pinpoint precision as they fly, crawl, or crash right over your head.
For most dedicated home theater spaces, four speakers is where you’ll find the most complete and jaw-dropping Dolby Atmos performance.
What about those up-firing speakers that bounce sound off the ceiling? They’re a popular alternative when in-ceiling installation isn’t an option, but they are absolutely not a true substitute. Their performance hinges entirely on having a perfectly flat, reflective ceiling between 8 and 10 feet high—a rare condition. Direct sound from properly installed in-ceiling speakers will always be more accurate and convincing.
Do I Need a Special AV Receiver?
Yes. This one is completely non-negotiable. Dolby Atmos is a sophisticated, object-based audio format, which means your AV receiver needs very specific hardware and software to understand and process it. A standard 5.1 or 7.1 receiver simply can’t handle these advanced audio signals or power the extra height channels.
When you’re shopping for a receiver, you have to look for one that explicitly says it supports Dolby Atmos. You’ll know it’s the real deal when you see its channel capabilities listed with a third number, like 7.2.2 or 9.2.4. That last digit tells you exactly how many dedicated height channels it can power. Without an Atmos-capable receiver, your ceiling speakers are just expensive ceiling decorations.
Ready to transform your home audio from standard to spectacular? The experts at TV Mounting Houston specialize in designing and installing flawless Dolby Atmos systems. Get your free quote today and experience sound like never before!


